We’ve been evolving Buildkite’s infrastructure pretty rapidly of late. In a very short period of time we’ve moved from some handcrafted snowflake servers doing everything to a fully autoscaling cluster of machines segmented by workload. To achieve this agility we’ve embraced configuration as code using Terraform and Packer, coupled with a collaborative workflow using GitHub and Buildkite.
We wanted tools that worked the way we worked: using a code repository, collaborating on changes with pull requests, testing our changes, and run in our terminal. Terraform fits this bill very nicely. And what we can run in our terminal we can also run using Buildkite, with bonus points: the logs can be recorded and shared, we can see who is making changes and when, and we can tightly control concurrency, all with security in mind.
Time-lapse of our full ops pipeline
Infrastructure Pull Requests
We store our Terraform configuration in a GitHub repository. Just like our Rails application, when we want to make changes we open a pull request for review:
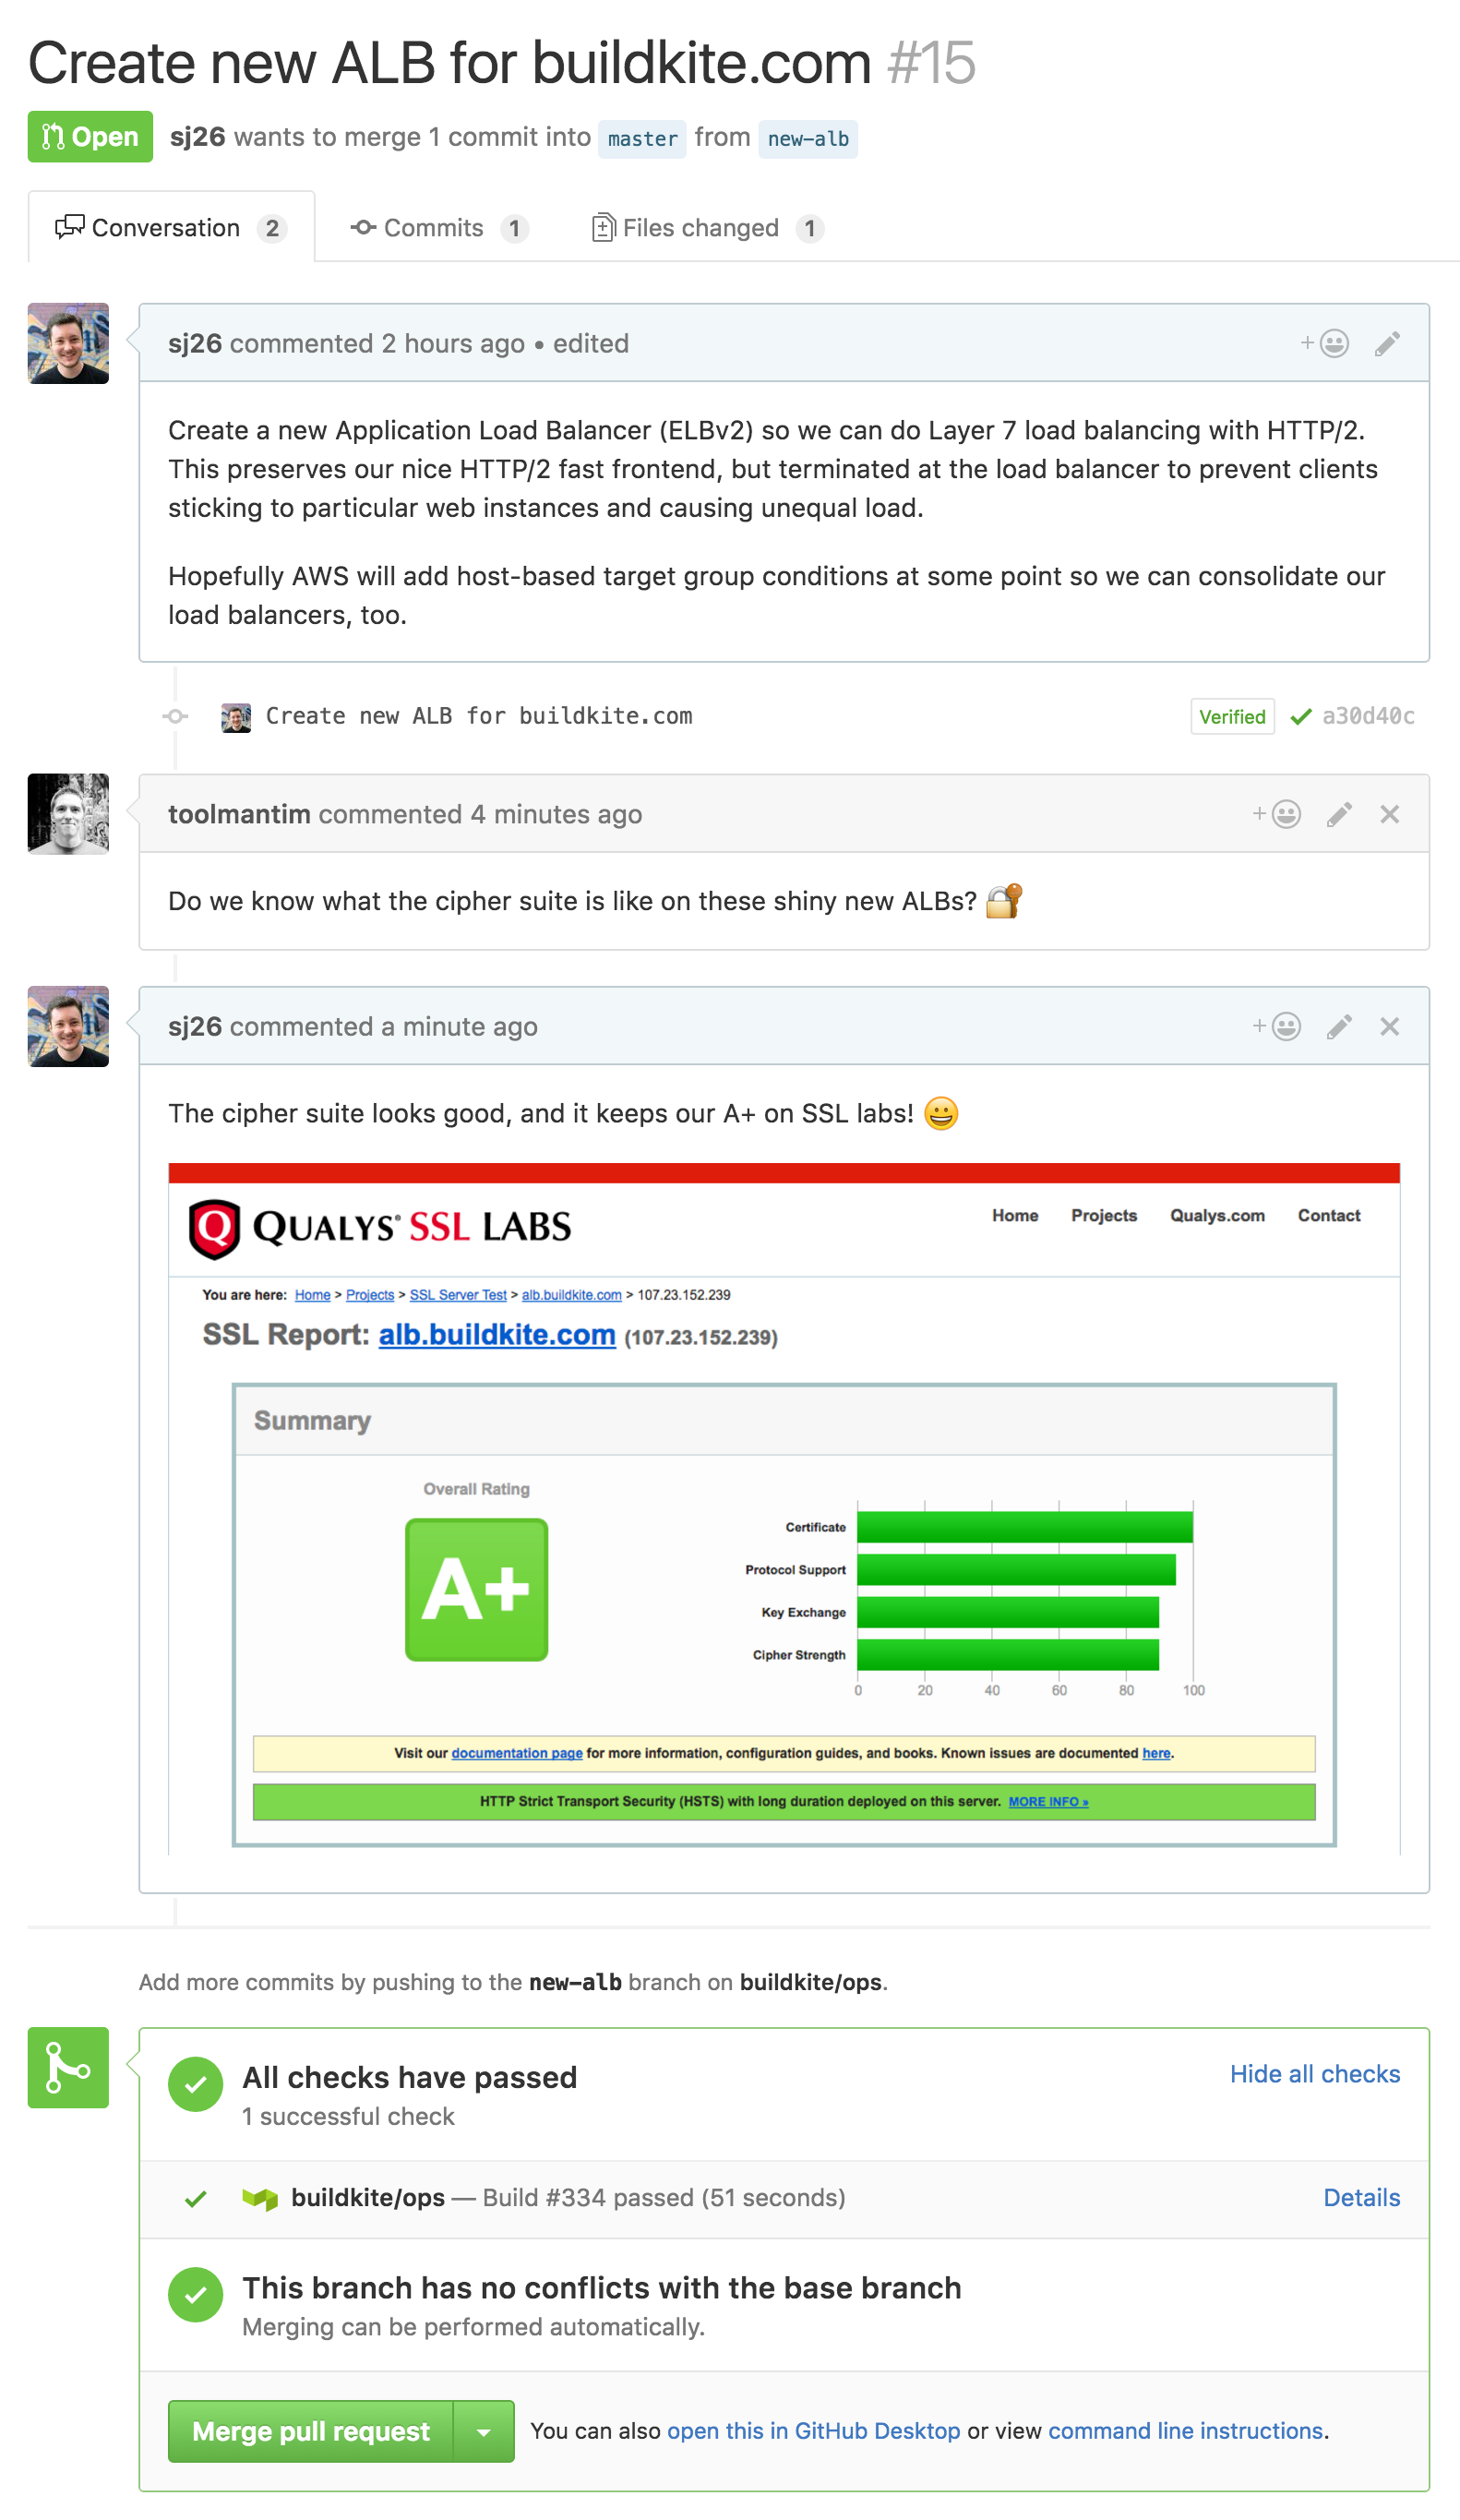 Tim gave me a hand evaluating the new AWS Application Load Balancers
This triggers a Buildkite build which performs a Terraform validate and plan:
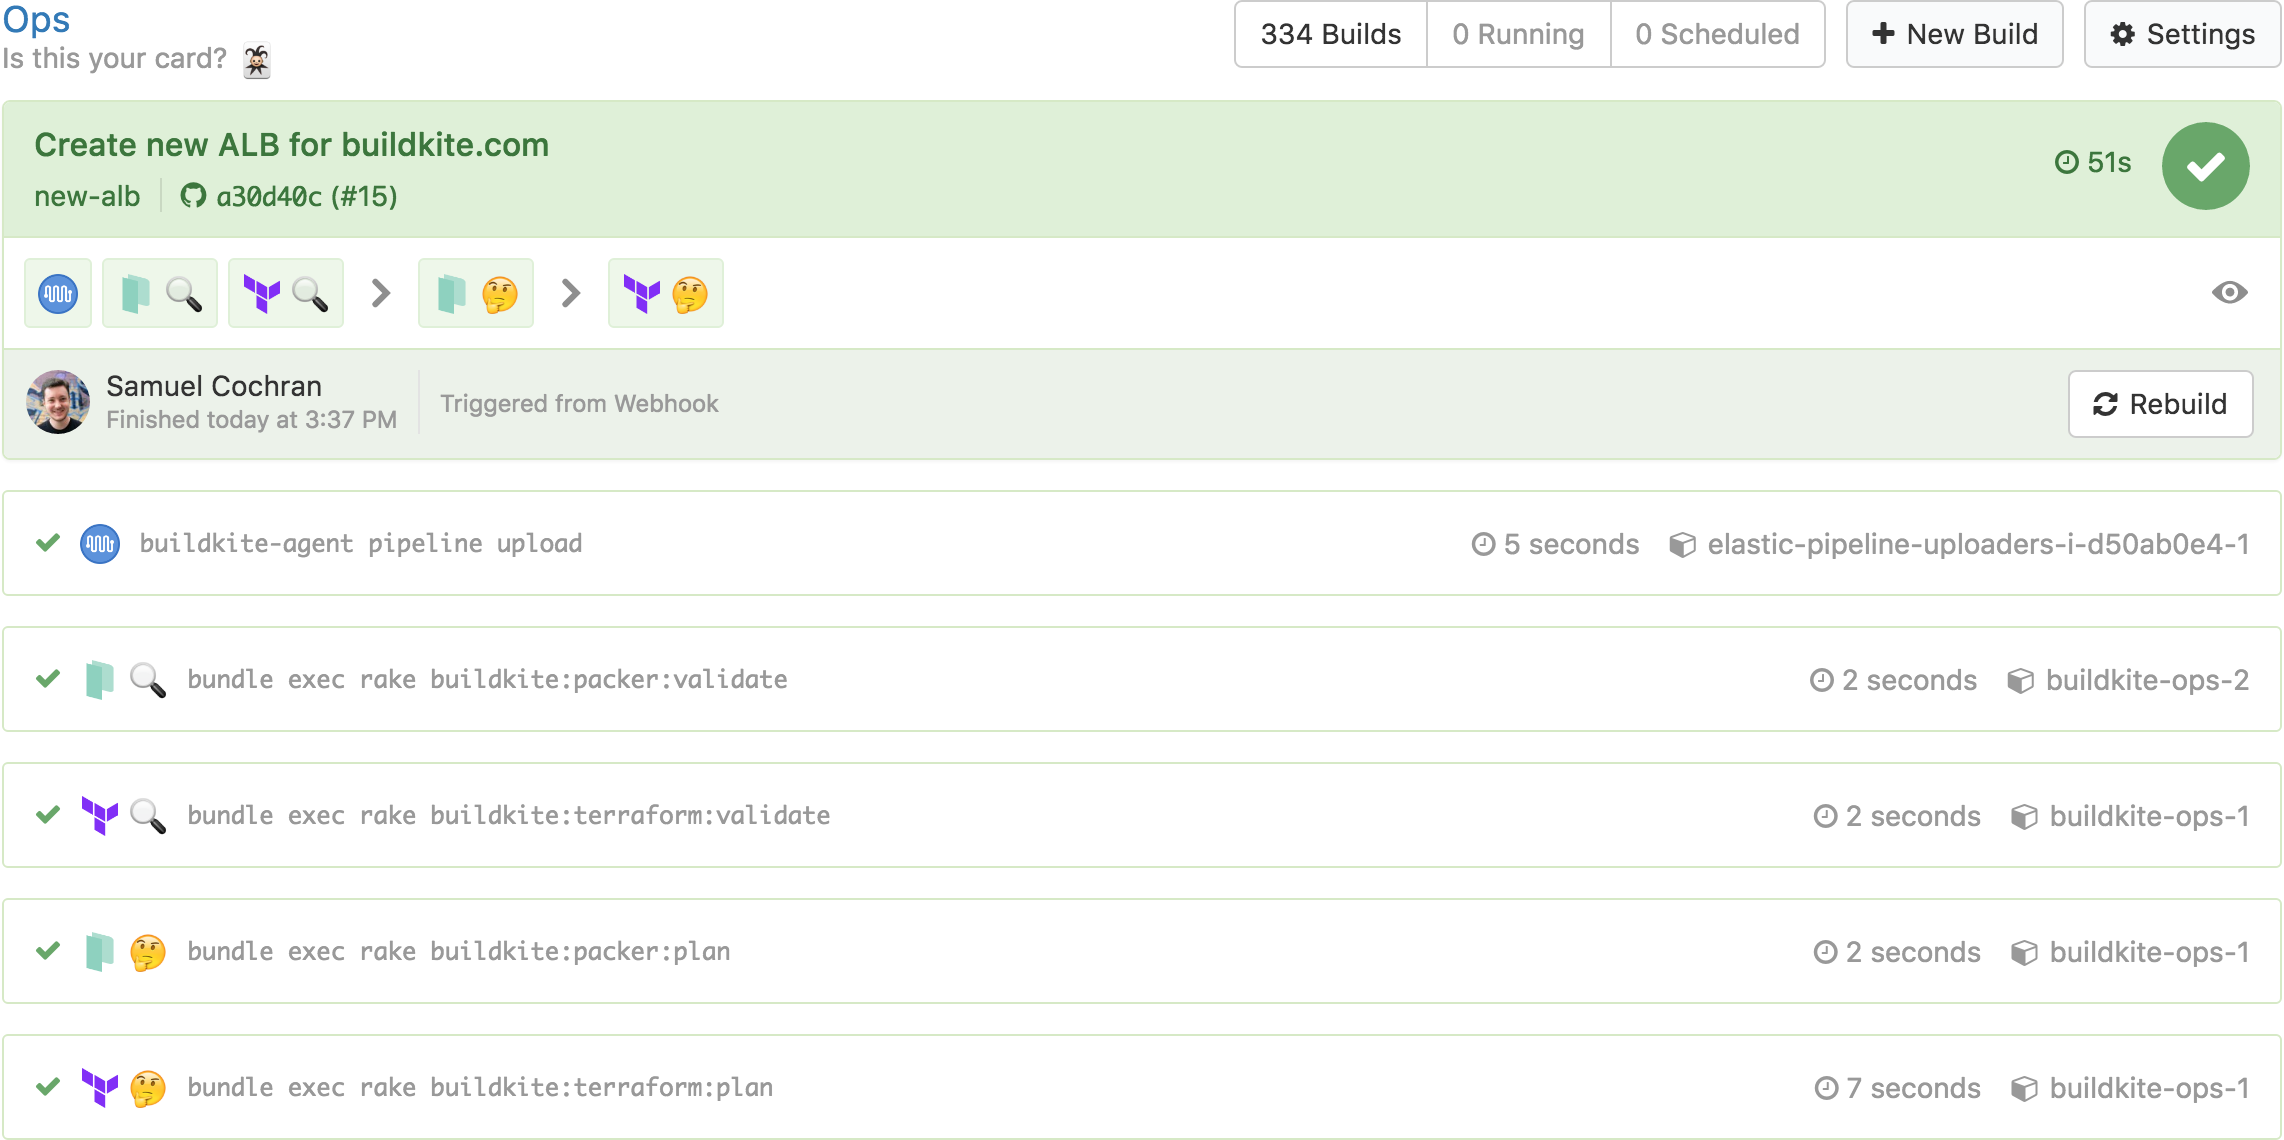 Emojis are critical
The Terraform plan output shows exactly what will happen when it gets applied to our production infrastructure:
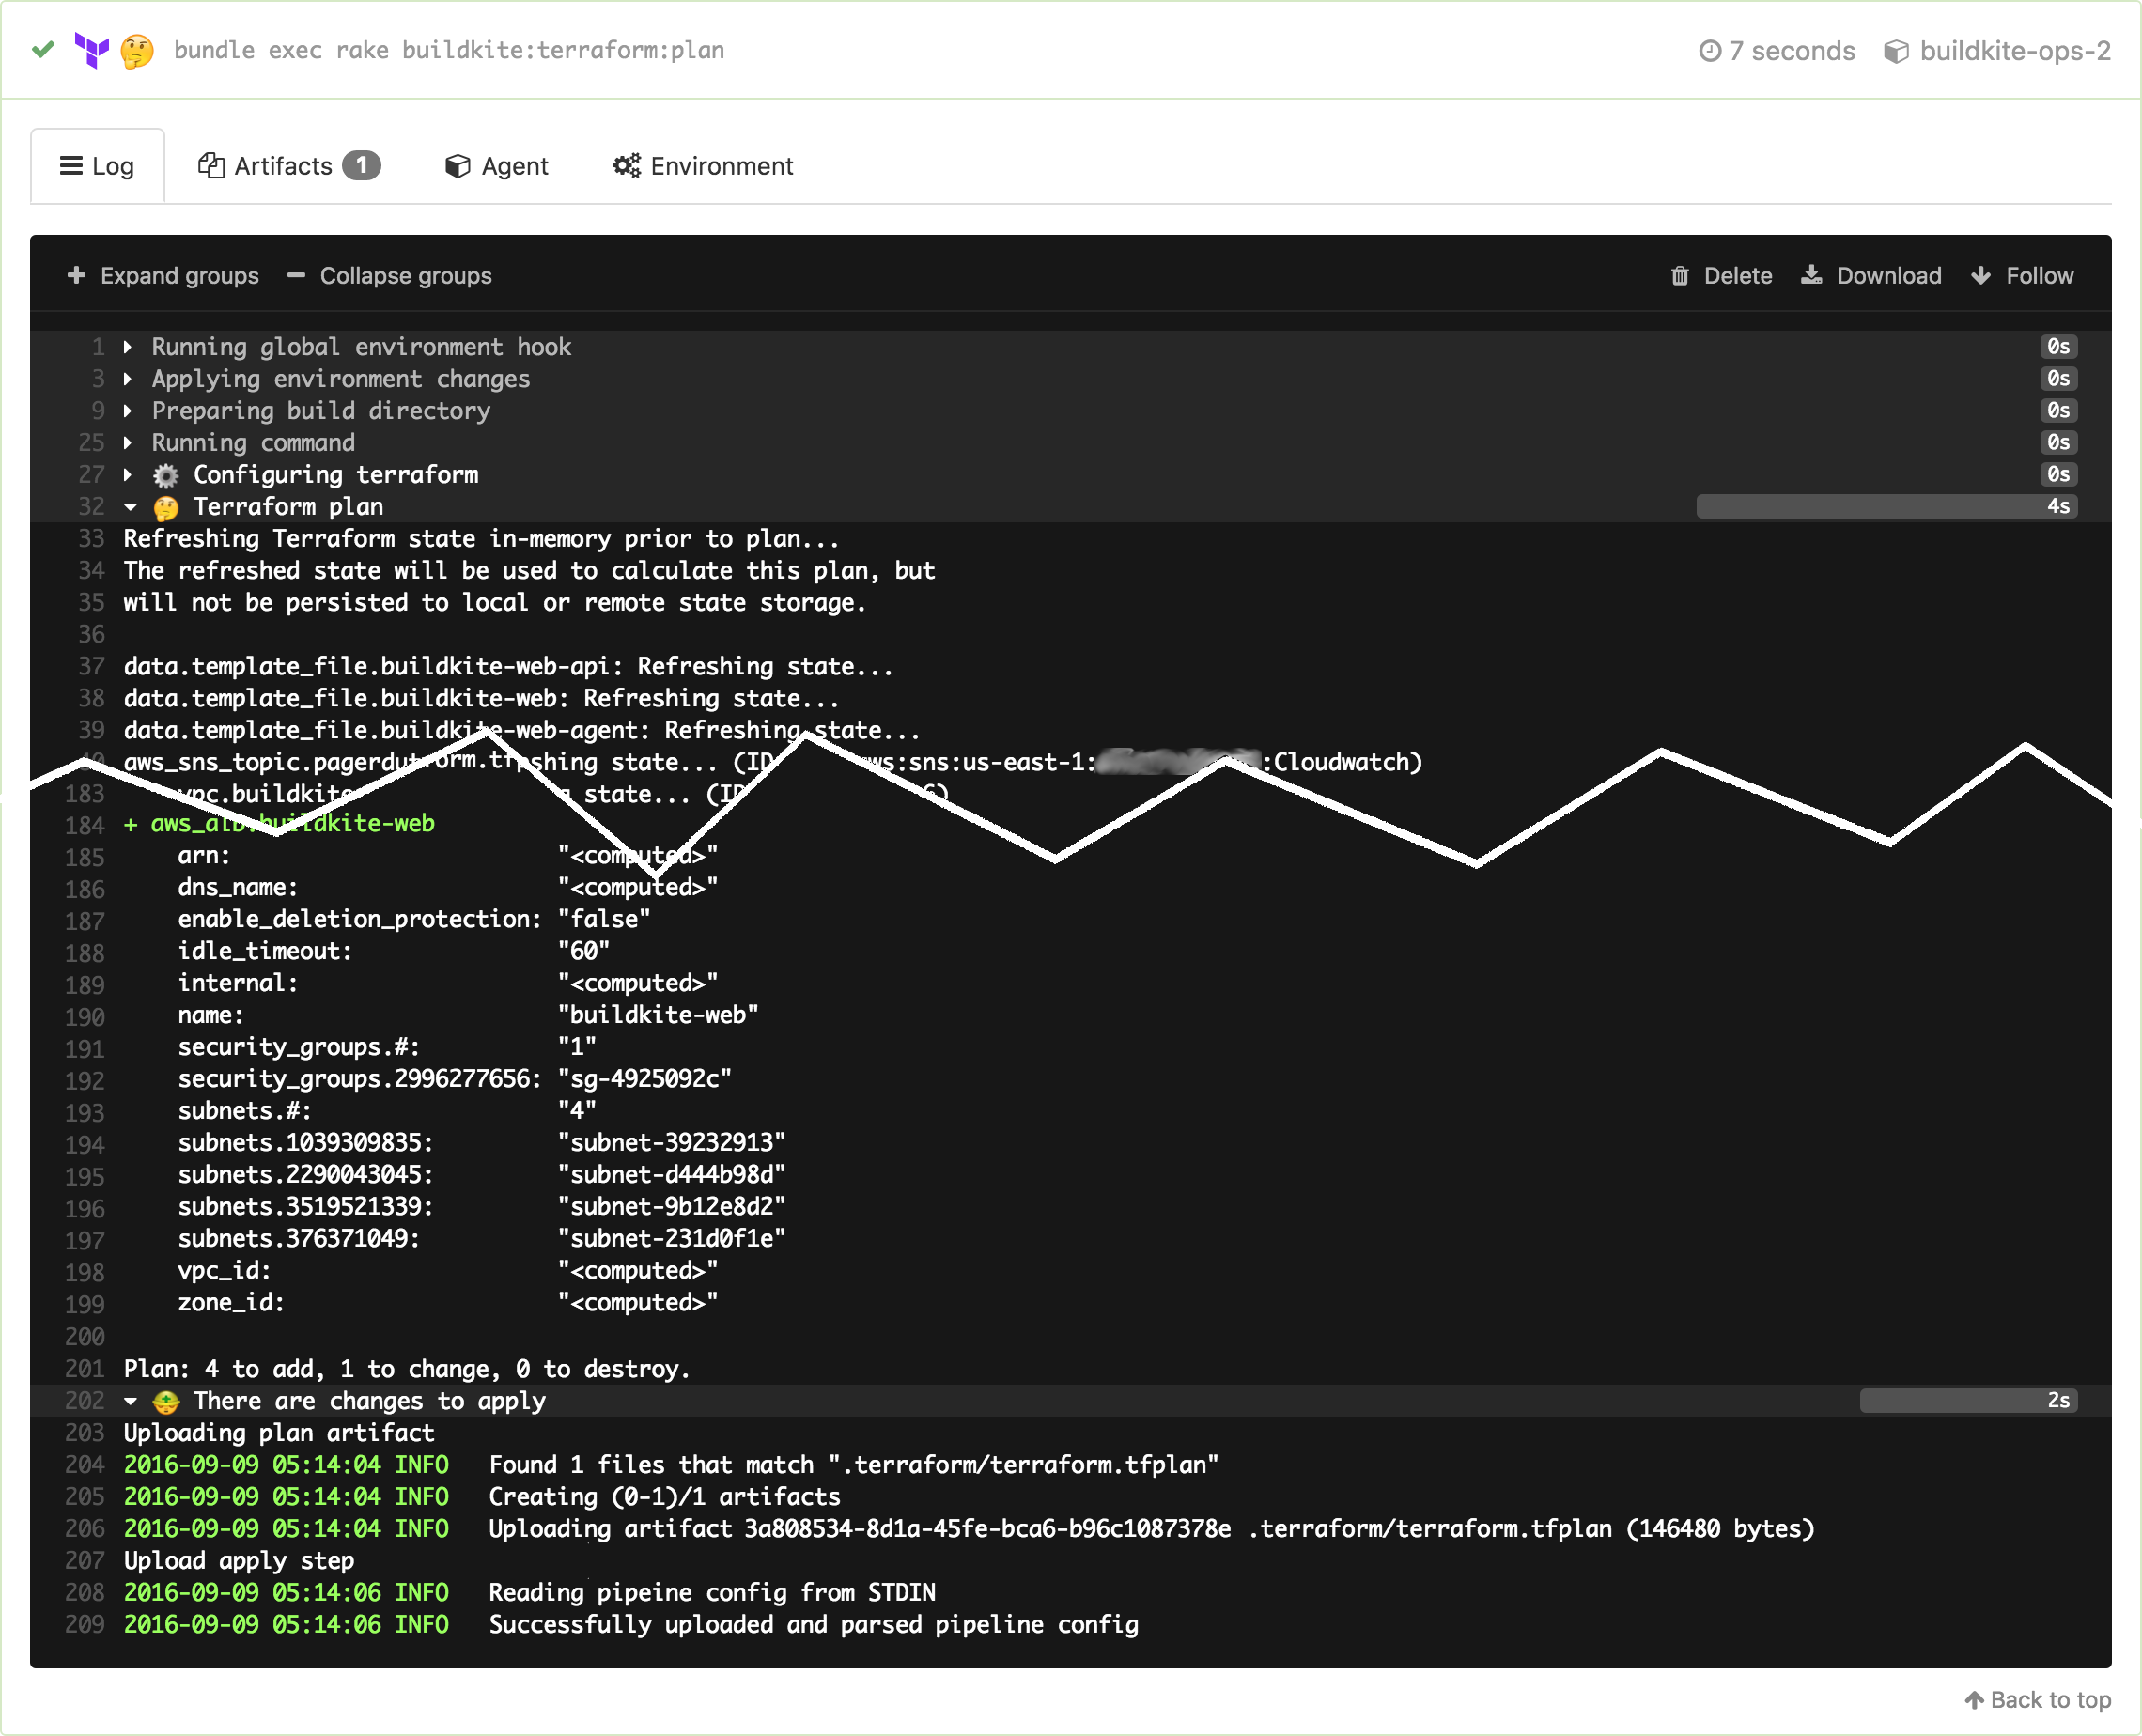 Terraform prints planned changes like a diff which works quite nicely as a build log
When the team is happy with the requested changes we merge them into master, the Buildkite build runs again, and this time that plan can be applied with a click to unblock step:

After the “Apply to production” step is unblocked (by clicking, via the API, or over chatops) you get to see who unblocked it and when, and can see the apply results:
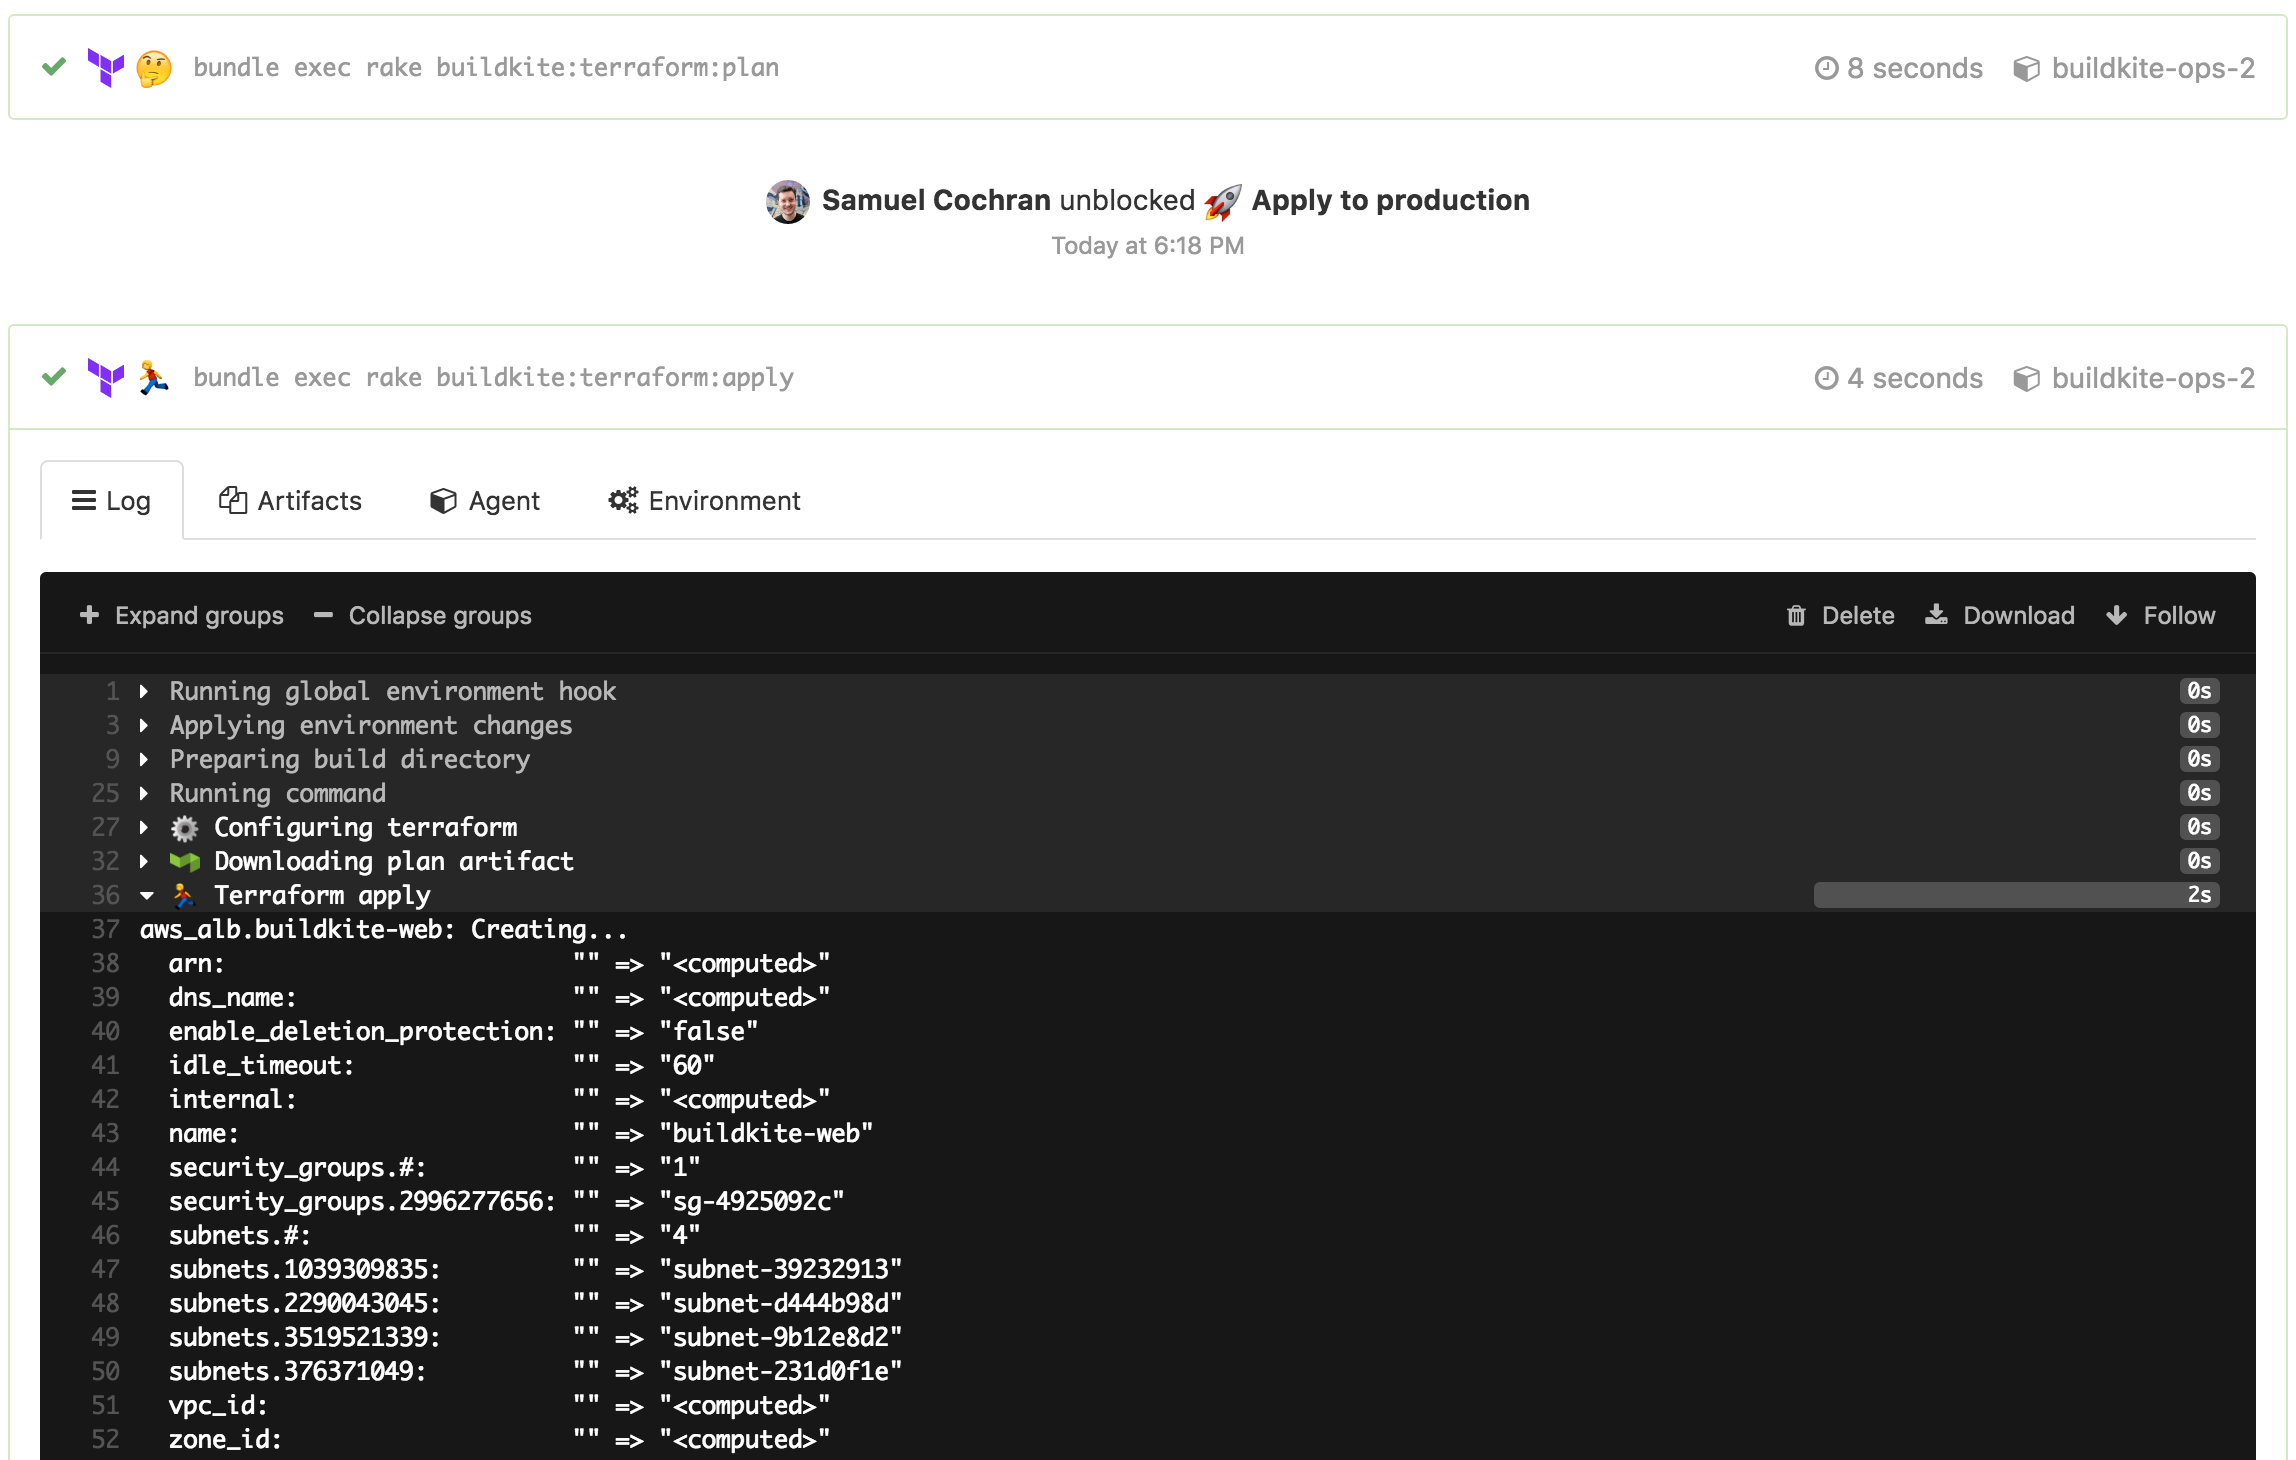
The bonus of having all these builds stored on Buildkite is that you can see exactly what has changed over time, and by whom the change was proposed and then applied. Changing production infrastructure is pretty scary so it helps when your team mates can check what you’re doing and maybe push that button for you.
A ship in port is safe; but that is not what ships are built for. Sail out to sea and do new things. — Admiral Grace Hopper
Avoiding State Conflicts
We configure Terraform to use remote state stored in an S3 bucket. But there are no locks in S3. Terraform does a pretty good job at letting you know when state seems to conflict, but it’d be even better if we can avoid the potential for conflict at all.
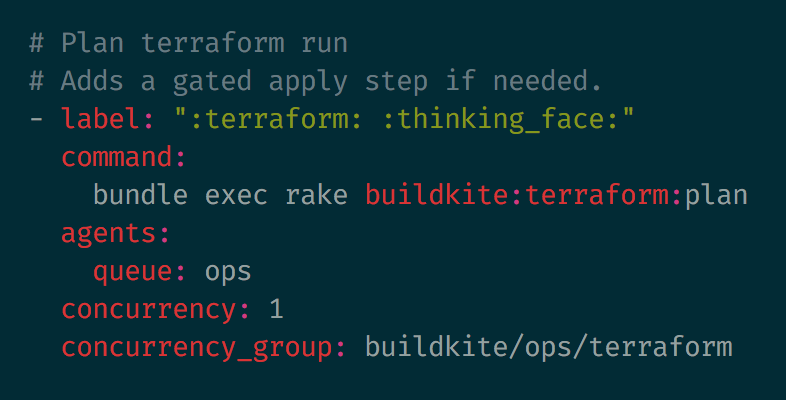
Luckily, Buildkite has concurrency groups. We can add some extra properties to our pipeline configuration to make sure only one Terraform plan or apply step can run at the same time:
Changing Machine Images
We have both Packer and Terraform configuration in the same repository because their changes are correlated and need strong sequencing: the state of one generally impacts the state of the other. But we don’t want to run a Packer build for every commit or merge — it takes a little too long and requires rotating instances in our autoscaling groups. So we’ve given our pipeline some smarts to figure out if it needs to run Packer at all:
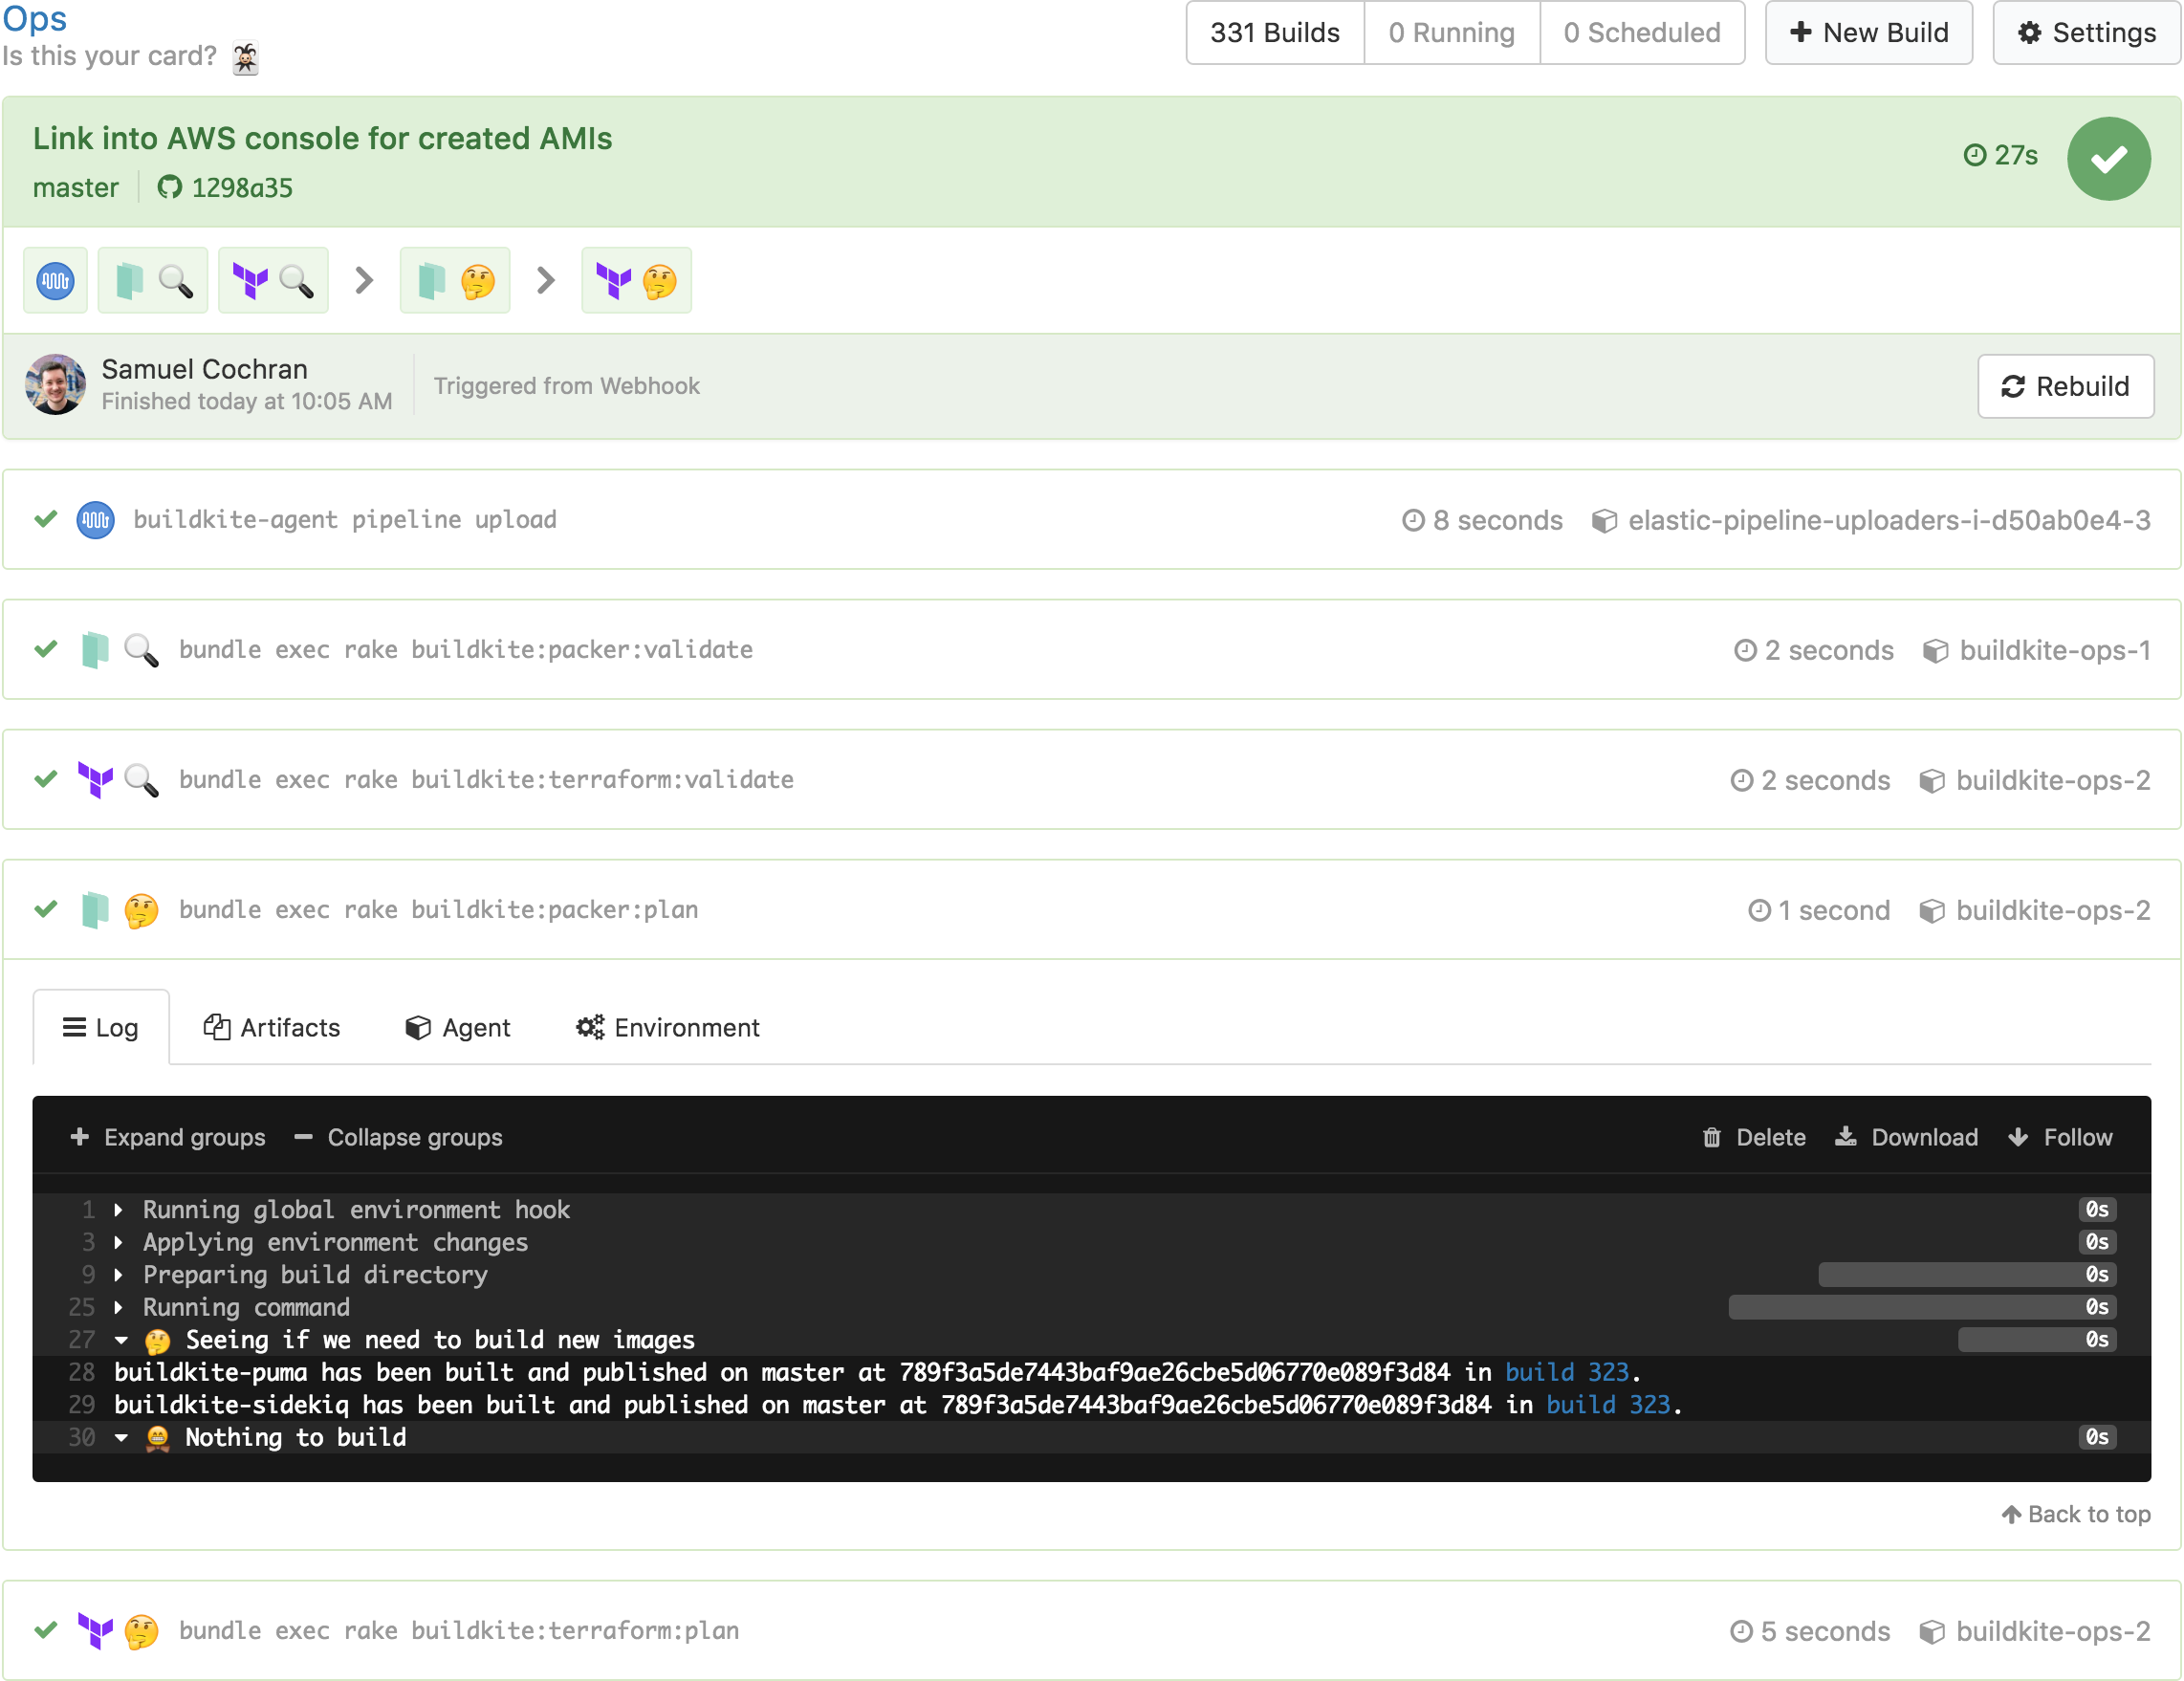 Those are links to the previous Buildkite builds containing the Packer build steps
Packer steps set build meta-data when building new images. We look for the last build on this pipeline on the same branch with the right meta-data set using Shopify’s Buildkit client for the Buildkite API. Then we compare the Git history of the previously built commit with the one we’re building now to see if we should build a new image. If we should, we pipeline upload some more steps:

At the end of each build we spit out a JSON artifact using a little Packer plugin we wrote as well as some links to the AWS console for launching a test instance running the new image:

Once we know that the image is good we can merge the pull request and that known–good image will be brought forward into the build of the merge commit on master and the AMI will tagged as “published”:
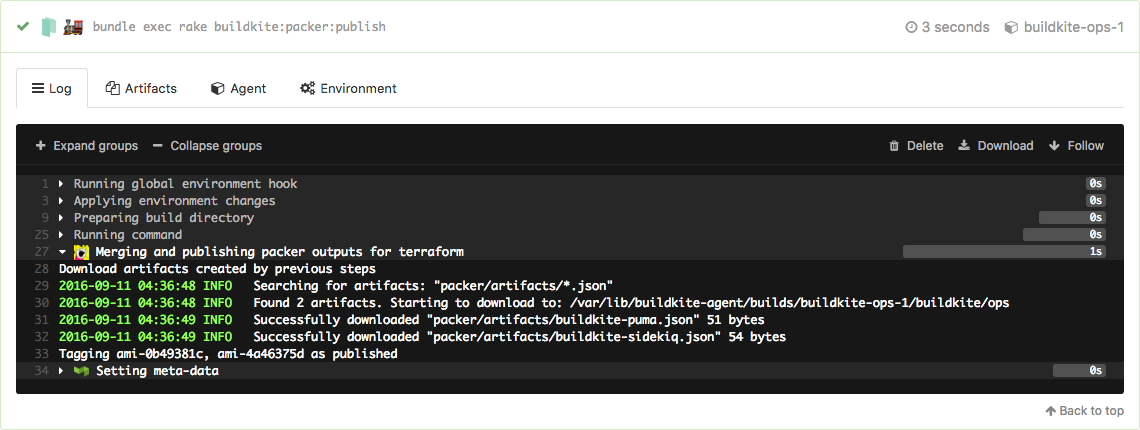
These tags feed into the Terraform plan step which finds the latest published image using an AMI data source. Because these steps come after, changing a Packer template flows right through to rolling the new image out to the autoscaling groups.
Running ad-hoc
Occasionally we might make a temporary override in the AWS console. To restore the intended state we can use the New Build button to run a build of the ops pipeline on master which detects the change during the plan step:
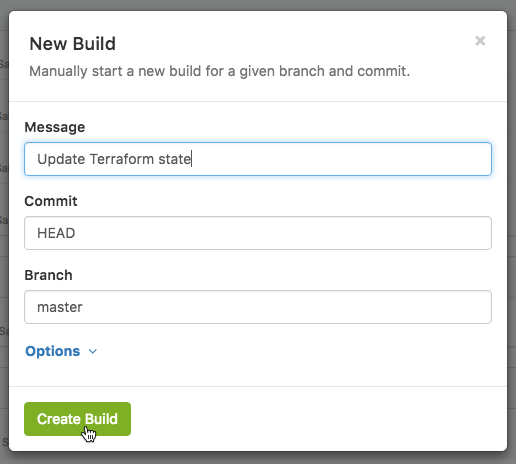
We can also use this to run scheduled builds which refresh our Packer images by supplying an environment variable which forces the images to build.
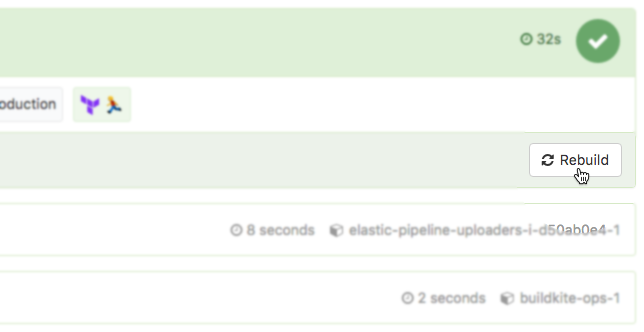
In a pinch without time to roll forward with a new revert commit, we can use the Rebuild button to revert to a known good commit:
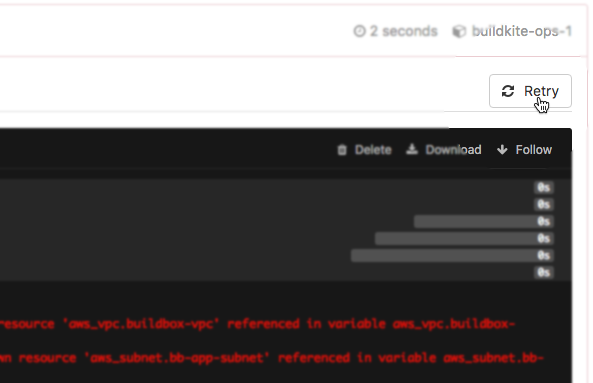
Or if we need some external state which fails a Terraform plan, then fix it, we can retry the plan job without rebuilding the whole pipeline:
Making sure it works without Buildkite, too
We test, build, and deploy Buildkite with Buildkite. Now we also provision the infrastructure Buildkite is deployed to with Buildkite as well. This makes the grumpy operations engineer in me very nervous.
Everything here works without Buildkite, too. Each step is just a rake task which we can run in a terminal. On Buildkite these are wrapped up with some behaviour to make use of previous builds, artifacts, and meta-data. But the underlying pieces can be run on a terminal as well. You just need credentials in the environment by using something like aws-vault, and rake takes care of configuring the remote state so everything remains in sync.
 Just checking
Keep it secret, keep it safe
We use separate Buildkite agents with a segregated queue for our ops builds. These have only enough permissions to perform the actions they require, using an IAM Role. We could further split up Packer and Terraform agents with different roles, force GPG verification of commits during checkout, and whitelist the actual commands they can run, but haven’t yet felt the need.
Some more sensitive pieces of infrastructure aren’t accessible by these ops agents at all: IAM, RDS instances, and our S3 secrets for example. If we choose to manage these with Terraform, we can always do a manual run locally using our own user credentials. Remote state will make sure our ops agents stay in sync.
This also means that making general infrastructure changes doesn’t require credentials all over your laptop. Day to day changes can be made through the ops pipeline. Escalated credentials can be stored more securely behind a couple of hurdles that you don’t mind jumping through when you really need them.
I hope you have enjoyed a peek at our ops pipeline and may have found something useful for your own projects.
There’s plenty more we’d love to do with our ops pipeline, and it’s constantly evolving. We’ve got some ideas for improvements to make it more secure, more resilient, and even better for teams.

